Step 8 – Creating Openfiler VM
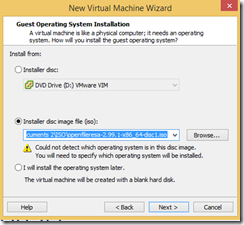
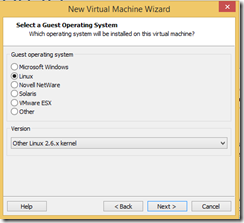
- Create a new VM for Openfiler. VMware Workstation does not automatically detect OS for Openfiler. Select Other Linux 2.6 kernel.
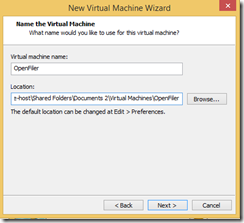
- Name VM, such as Openfiler
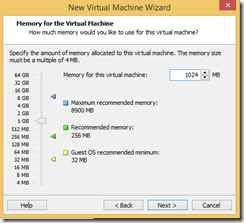
- Give at least 1GBB RAM.

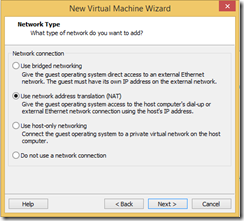
- Select “Use network address translation (NAT)” for Network Option.
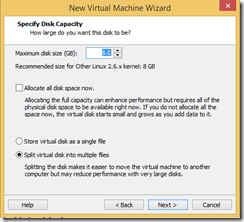
- Keep the default disk size as this will be OS disk, you will not need large space.
- Click Finish to create VM, but do not power on this VM, yet.

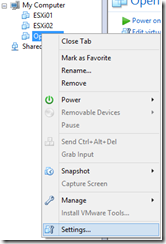
- After the VM is created, Right-Click then Settings. Then Add a new hardware.

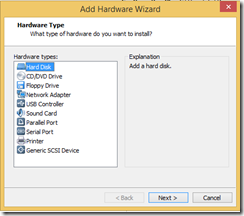
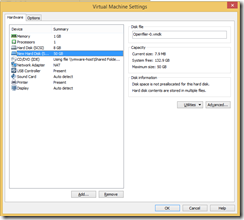
- Add New Hard Disk, Create a New Hard Disk with the default Disk Type and give it 50GB or more. This virtual Disk will contain Data and hosts LUNs.
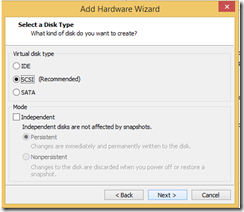
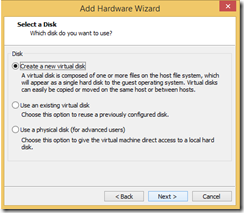
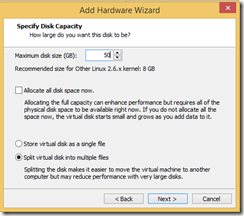
- Leave the VMDK file name as the default, then click Finish to add a New virtual Hard Disk
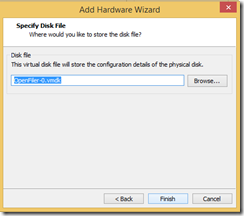
- Openfiler VM should have the setting similar to the one below.
Step 9 – Installing Openfiler
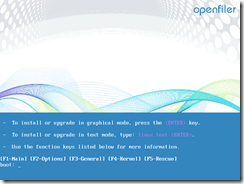
- Power On Openfiler VM, then Start OS Installation.
- Click Next.
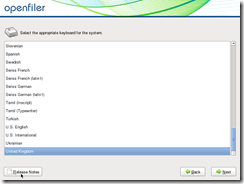
- Select your Keyboard Layout, then click Next.
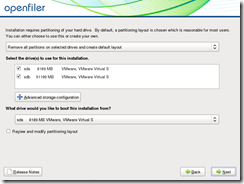
- When you are asked for partitions, select “Create Custom Layout” from the drop down list. then click Next.

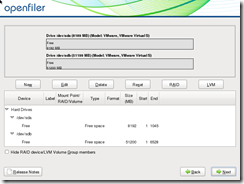
- You will be creating partitions manually. Click New.
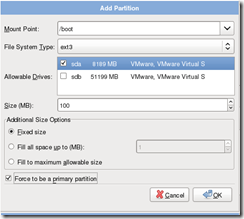
- Enter the following details for /boot partition.
Mount Point : /boot
File System Type : ext3
Allowable Disk: Select only sda
Size (MB) : 100
Additional Size Option: Fixed Size
Force to be a primary partition: Selected
- Click “OK” to create a partition
- Add another partition with the Following Detail for / (Root) partition.
Mount Point : /
File System Type : ext3
Allowable Disk: Select only sda
Size (MB) : 512
Additional Size Option: Fill to maximum all allowable size
Force to be a primary partition: Selected
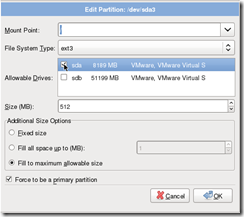
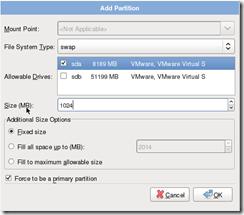
- Add another partition with the Following Detail for Swap partition.
Mount Point : N/A
File System Type : swap
Allowable Disk: Select only sda
Size (MB) : 1024 (Adjust this to allocated Memory for this VM)
Additional Size Option: Fixed size
Force to be a primary partition: Selected
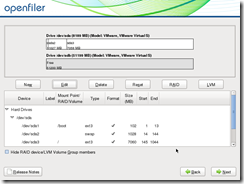
- Your Partition Table should look like below. Then Next.
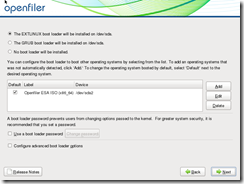
- Leave Default Bootloader Option and then click Next.
- Click Edit to configure Static IP Address with the following detail IP Address: 192.168.xxx.110
Prefix: 24
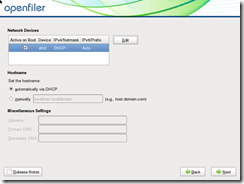
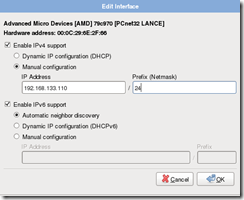
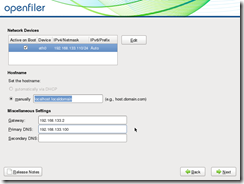
- Configure Default Gateway and DNS Address as follow. Then Next.
Default Gateway : 192.168.xxx.2
DNS : 192.168.xxx.252
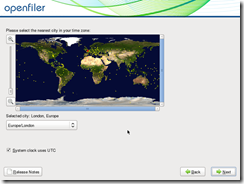
- Select your Time Zone. And then Click Next.
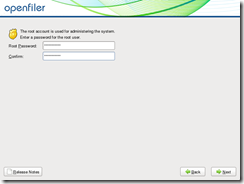
- Enter root password, you will not be using this password but just remember your password. Then Next.
- Click Next to start the installation then reboot when it is done.
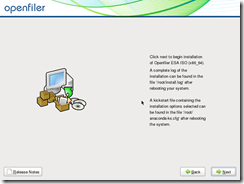

- You have successfully installed Openfiler.
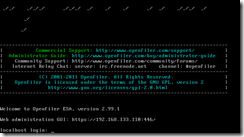
Step 10 – Configuring Openfiler
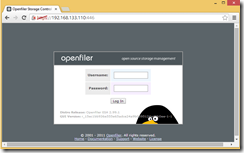
- Once Openfiler is restarted, you can start administering Openfiler via Web Interface. To access web interface, type https://<ip_Address>:446 in Web Browser. You should be able to access this via a host web browser.
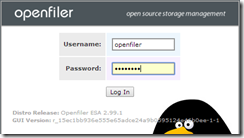
- Login to Openfiler using the default username and password.
Username : openfiler
Password: : password
- Select Services, then enable NFSv3 Server and iSCSI target server as they are disabled by default and make sure that the services are started.


- You will need to create a volume group to use NFS and iSCSI, click Volumes from the menu.

- Select 2nd Disk (should be dev/sdb)


- Keep the setting as default then click Create.

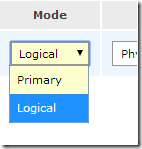
- Then Create Logical Partition, by selecting Logical in Mode option and then click Create.

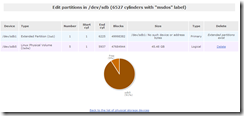
- Verify that volumes are created.

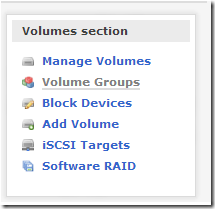
- From right side of the page, select Volume Group
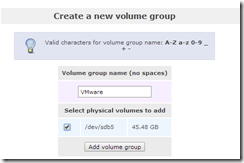
- Create a new Volume Group and name it such as VMware, make sure that volume that you created in the previous step is selected.

- Once a volume group is created, then you can add volumes. From the right side of page, click Add Volume.
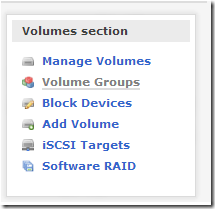
- Scroll down and Create 1st LUN with the following detail then click Create.
Volume Name : LUN0
Volume Description :
Required Space : 10000
Filesystem : Block (iSCSI, FC, etc)

- Create 2 more LUNs with the following details.
Volume Name : LUN1
Volume Description :
Required Space : 10000
Filesystem : Block (iSCSI, FC, etc) - Volume Name : LUN2
Volume Description :
Required Space : 10000
Filesystem : Block (iSCSI, FC, etc) - Create 1 NFS Shared Volume with the Following Detail
Volume Name : NFS
Volume Description :
Required Space : 1000
Filesystem : XFS

- Now you should have 4 volumes in the list as below.
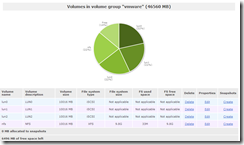
Step 11 – Configuring NFS Share
- To configure NFS Share, you will need to define IP Address Range. Click System from Menu to define IP Address Range that are allowed to access NFS Share.

- Scroll down and enter IP Address for your NAT network.
Name : 192.168.xxx.0/24
Network/Host : 192.168.xxx.0
Netmask : 255.255.255.0
Type : Share

- Verify that Your NAT Network is added in the list.

- Click Shares form Menu to create NFS Share.

- Click Volume Group for NFS Share. In my environment it is called NFS.

- Then enter NFS Share Name, such as “Share”.
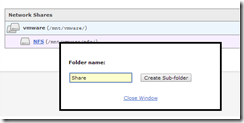
- Now NFS share has been created

- Click on newly created NFS Share then click “Make Share”
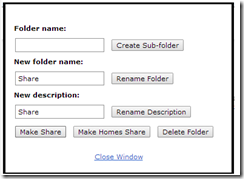
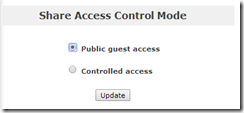
- Since ESXi Server requires Anonymous Access, Change Share Access Control Mode to “Public guest access” then click “Update”
- Give RW (Read&Write) permission to NFS, then click update

- Now NFS Share has been created. You can mount this share from ESXi Server with the following details now.
NFS Server: 192.168.xxx.110
Share: /mnt/vmware/nfs/Share
Step 12 – Configuring iSCSI Target
- To configure iSCSI Target, Click Volumes

- From the right side of page, click “iSCSI Target”

- Since there is no iSCSI Target exist, you need to create one. Click “Add” to create a new iSCSI Target with the default (Random) IQN Name.

- Click on LUN Mapping from iSCSI Menu

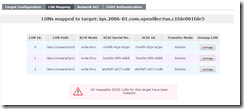
- There is no LUNs mapped to this Target yet, so you will need to map all iSCSI volumes that you have created in the previous step to this Target.

- Click Map on each Volume to map LUNs to this Target.

- Verify that all LUNs are mapped this Target now.
- Click Network ACL from iSCSI Menu.

- Change Access to allow for your NAT Network. and then click update.


- Your iSCSI Target is ready now.
Leave a Reply