Step 2 – Creating ESXi Server VMs.
- You will need minimum of two ESXi Servers. ESXi Server which runs in VM is called “Nested ESXi”.
- Create a New Virtual Machine with Custom Mode.
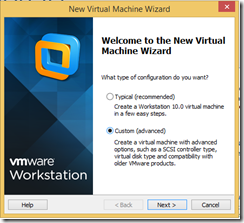
- Leave this as the default Option, then Next.

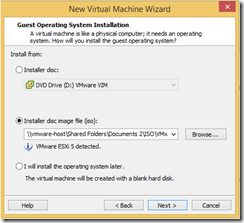
- Select your ESXi ISO Image then click Next. VMware Workstation will automatically detect OS type and customise VM setting for it.
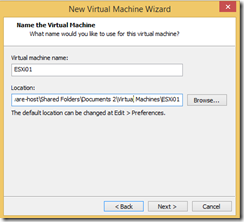
- Name it as your First ESXi Server, for example ESXi01. Then Next.
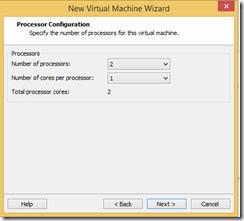
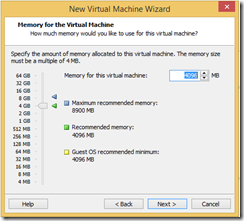
- Keep Number of CPU and Memory as default. Then Next.
- Select “Use network address translation (NAT)” Option for your 1st NIC. This will be vmnic0. Then Next.

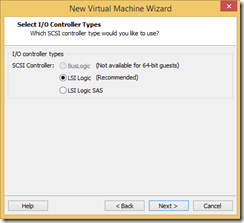
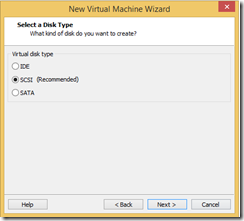
- Keep the default I/O Controller Type and Disk Type then Next.
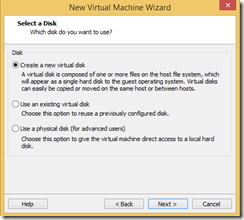
- Create a new virtual disk. then Next.
- Keep the default settings then Next. This will be the default VMFS Datastore (Datastore1) and where VMKernel be installed.
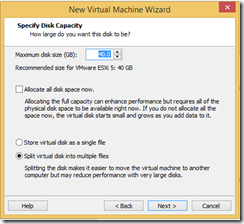
- Keep the disk type default and Save it as the default Name.

- Do not Select “Power on the virtual machine after creation” box at this stage then click “Customize Hardware” button.
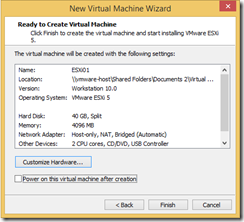
- You will need to add 2 more virtual NICs to this VM. Click Add to add more Virtual Hardware.
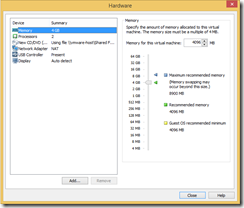
- Select Network Adapter then Next.
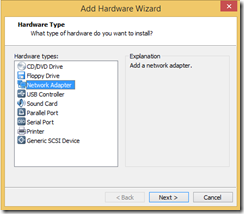
- Select “Use bridged networking” then Next. This will be vmnic1.
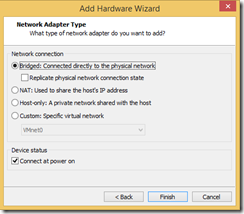
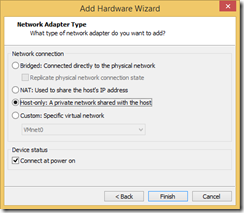
- Add 1 more Virtual NIC with “Host-only: A private network shared with the host” Option.
- Your Virtual Network Settings should look like below.
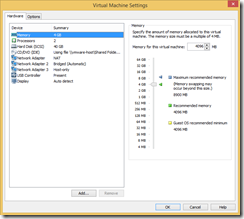
- Click OK to Save and then Power On Virtual Machine. When you Power On Virtual Machine, Installation will start immediately. Follow Step 3 to install ESXi Server.
Step 3 – Installing ESXi Server
- Power On ESXi Server VM and then installer should start.
- Press Enter to Start ESXi Server Installation.
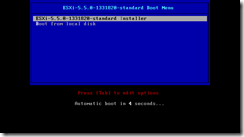
- Press Enter to Continue Screen
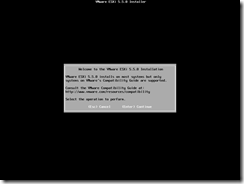
- Press F11 to accept the EULA.
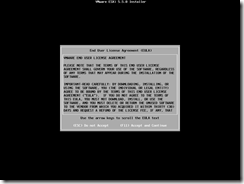
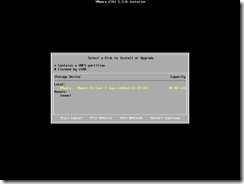
- Select the default Installation location.
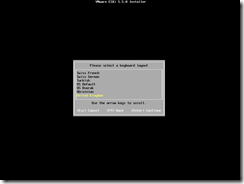
- Select your Keyboard setting.
- Enter Password twice. then press Enter.
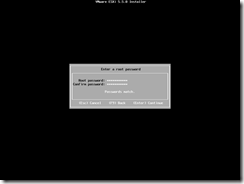
- Confirm ESXi Server Installation with F11.
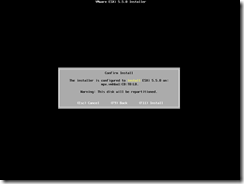
- Press Enter to Reboot ESXi Server.
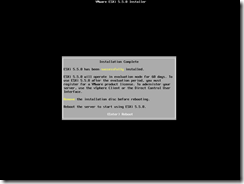
- Your ESXi Server is Ready. You will configure this ESXi Server later on. Keep this VM on.
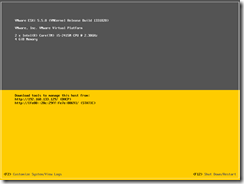
- Perform same tasks for 2nd ESXi Server, (ESXi02)

If anyone experience problems with NIC discovery by ESXi host follow the steps below:
1. Power off your ESXi host.
2. In Workstation VM settings remove all additional NICs that was added in pre-installation process (steps 14 – 18), leave only “vmnic0” that is used by VMkernel (default name in workstation “Network Adapter” without any number suffix)
2. Power on ESXi host
3. After it has booted up, repeat steps 14 -18
4. Restart your ESXi host and you are good to go!
Hi Sergejs
Thank you for sharing your tip. I guess you solved the problem you had with your ESXi Servers. (Sorry I’ve been very busy and could not reply to your email.)
The problem you had with ESXi server became unresponsive may be caused by iSCSI. Once iSCSI is configured on ESXi Server make sure iSCSI VM is always available and reachable by ESXi Server when ESXi server is running, otherwise ESXi will try to connect to unreachable iSCSI LUN and it will create a lot of overhead to ESXi server processor and make ESXi server unresponsive.
And in regards to vmnic that ESXi uses for management, it might be good idea to check DCUI to see if vmnic is selected by ESXi server and check MAC address of vmnic against MAC address of Virtual NIC from VMware Workstation.
Hi Daisuke,
Yes, I did solve my problem, but NIC discovery was another issue I have faced with.
The biggest problem I had was with iSCSi software adapter, that was crashing my ESXi host connectivity. The reason for that was the be2iscsi driver I suppose, that is included in the “VMware-ESXi-5.5U1-RollupISO.iso” image, which I have used for host installation. VMware published an article KB2075171 related to that issue, so I decided to download new ISO image “VMware-VMvisor-Installer-5.5.0.update01-1623387.x86_64.iso” for installation process. And finally I have everything up and running!
A very decent guide I was looking for some time. Can’t wait to try. Thanks.
Thanks, hope instructions are straight forward.