
Step 2 – Creating ESXi Server VMs.
- You will need minimum of two ESXi Servers. ESXi Server which runs in VM is called “Nested ESXi”.
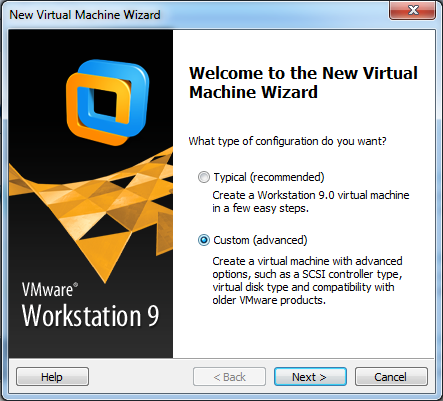
- Create a New Virtual Machine with Custom Mode.

- Select the default Option, then Next.

- Select your ESXi ISO Image then click Next. VMware Workstation will automatically detect OS type and customise VM setting for it.

- Name it as your First ESXi Server, for example ESXi-01. Then Next.

- Keep Number of CPU and Memory as default. Then Next.


- Select “Use network address translation (NAT)” Option for your 1st NIC. This will be vmnic0. Then Next.

- Keep the default I/O Controller Type then Next.

- Create a new virtual disk. then Next.

- Keep the default settings then Next. This will be the default VMFS Datastore (Datastore1) and where VMKernel be installed.

- Keep the disk type default and Save it as the default Name.


- Select “Power on the virtual machine after creation” box then click “Customize Hardware” button.

- You will need to add 2 more virtual NICs to this VM. Click Add to add more Virtual Hardware

- Select Network Adapter then Next.

- Select “Use bridged networking” then Next. This will be vmnic1.

- Add 1 more Virtual NIC with “Host-only: A private network shared with the host” Option.

- Your Virtual Network Settings should look like below.

- Click OK to Save and Power On Virtual Machine. When you Power On Virtual Machine, Installation will start immediately. Follow Step 3 to install ESXi Server.


Step 3 – Installing ESXi Server
- Press Enter to Start ESXi Server Installation.

- Press Enter to Continue

- Press F11 to accept the EULA.

- Select the default Installation location.

- Select your Keyboard setting.

- Enter Password twice. then press Enter.

- Confirm ESXi Server Installation with F11.

- Press Enter to Reboot ESXi Server.

- Your ESXi Server is Ready. You will configure this ESXi Server later on. Keep this VM on.
- Perform same tasks for 2nd ESXi Server, (ESXi-02).


